Update Notes (Windows)
Please note the following hints for an update installation under Windows.
Required version of i-net HelpDesk for an update
-
i-net HelpDesk server: Prerequisite for an update is an i-net HelpDesk version 21.10 or newer.
-
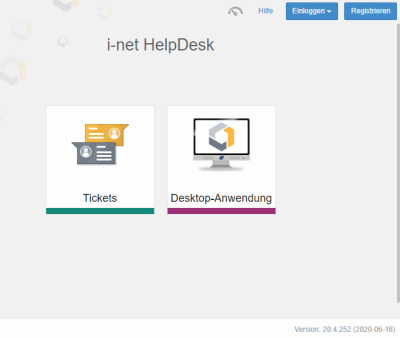
Desktop Application for Supporters: The i-net HelpDesk Server does not support the Desktop Application anymore. Starting version 24.4 you have a fully featured Tickets Application. Using PWA technology, you can use the Tickets application is if it was installed on your desktop,
-
Mobile Clients: The mobile client is superseded by the Tickets Application as well. Again, using PWA technology, you can use the Tickets application as if it were a near native application.
Enabling the HelpDesk server in the firewall
If you want to make the i-net HelpDesk server directly accessible for the i-net HelpDesk clients, then enable the i-net HelpDesk program hdservice.exe in your firewall or alternatively the port of the i-net HelpDesk server (see below).
Note: Check the correct function of your firewall rule after the update.
No login dialog pops up if the client can connect DIRECTLY to the port of the i-net HelpDesk server. In this case, a single sign-on is performed in the background.
Ports of the i-net HelpDesk server
-
integrated Jetty web server from i-net software: port 80 or port 443 for https (recommended)
-
MS IIS or Apache: Port 8002 (not recommended)
If the i-net HelpDesk server is not directly accessible, a login dialog always opens.
Preparing the update
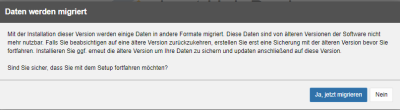
The setup updates the existing database of i-net HelpDesk. Make sure that there is a recent backup of the HelpDesk database!
Important: Create a backup in the Maintenance application. This will not contain the i-net HelpDesk database.
Will email templates, reports, add-ons be preserved?
Yes, your changes will be retained.
Note: Add-ons were a proprietary extension option for the Supporter Desktop Application up to version 23.10. These are now also obsolete.
Update procedure
Download the update (Windows Installer package; .msi): https://www.inetsoftware.de/de/products/helpdesk/download/download-formular
Recommendation: Temporarily stop your antivirus software (if any) for the time of the update.
Important: Stop the service i-net HelpDesk server. The service will be restarted automatically after the setup is completed.
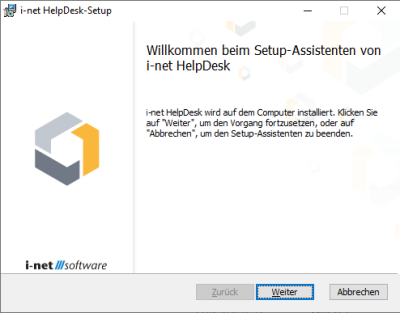
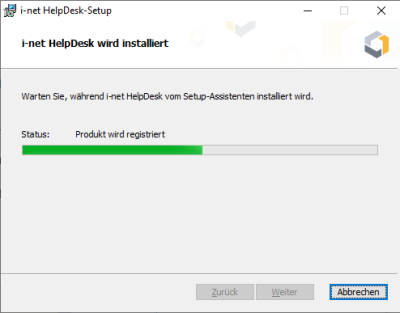
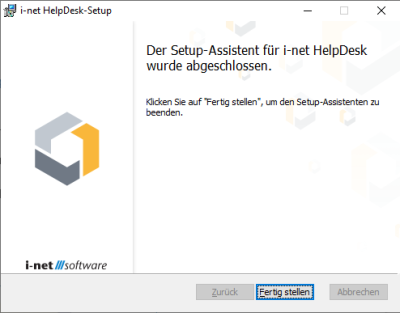
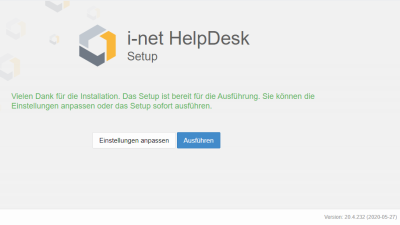
Start the update. To do this, double-click on the msi file. The update consists of two parts. One is installing the files and the other is the setup in the browser using a wizard.
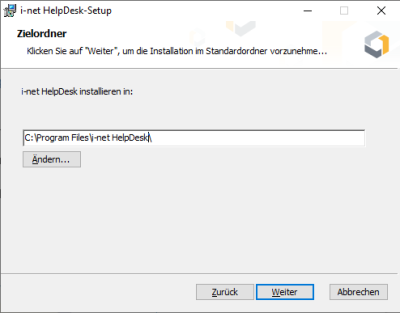
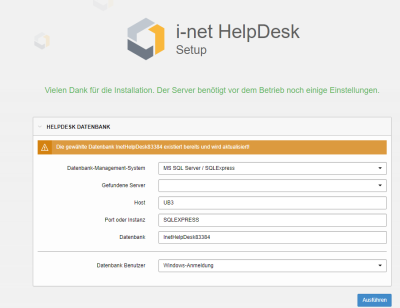
Important: Install the i-net HelpDesk setup into the existing i-net HelpDesk directory and follow the setup instructions as described below.
Known issues and tips
The following are a few pitfalls for the update.
i-net HelpDesk service is running under a Windows service account
Configuration:
-
The "i-net HelpDesk server" service runs with a Windows account (default account is "Local System").
-
Access to the i-net HelpDesk database is done with the i-net HelpDesk server account and not with the account of a database user
Problem
The i-net HelpDesk update deletes the previous service and then recreates it, but with the "Local System" account. As a result, the new service does not get access to the i-net HelpDesk database. After restarting the i-net HelpDesk service in the meantime, you receive the corresponding message that the update no longer has access to the database.
Solution
-
After the installation, do NOT run the following setup, but stop the update.
-
Change the login for the "i-net HelpDesk server" service back to the specific account you chose.
Control Panel > Services -
Then call the i-net HelpDesk setup again as follows and finish it:
-
In the i-net HelpDesk program directory, subfolder "Server" open the file
webconfig.txt.-
The file contains the port of the i-net HelpDesk server and the UUID.
-
-
Copy the string after "UUID" to the clipboard. Make a note of the port, e.g. 8002.
-
Now start a browser and enter in the URL:
-
http://localhost:8002/setup/<UUID> -
Example:
http://localhost:8002/setup/71248829-8b7c-43d8-7fdc-097844a4a326
-
-
After confirming with the "Enter" key, you will be taken to the setup dialog again.
-
Backup and restore
If the i-net HelpDesk server and database are running in the same virtual environment, then regular snapshots of the virtual machine are the best solution.
The following points should be considered when i-net HelpDesk server and database are to be backed up individually.
-
i-net HelpDesk database: You have to perform the backup via the respective DBMS.
-
i-net HelpDesk configuration: For this purpose there is the application Maintenance:
i-net HelpDesk Home > Maintenance > Backup / Restore > New Backup. -
In the "Available Tasks" it is strongly recommended to at least activate the checkbox "Current configuration".
-
Via Task Planner, backups can also be performed automatically.
© Copyright 1996 - 2025, i-net software GmbH; All rights Reserved. Imprint
![]()